

A Step-through-Step Guide to Installing LED panorama lights.
Enhancing your out of doors space with LED panorama lighting can extensively upgrade its aesthetic attraction and function. Whether you desire to illuminate a pathway, highlight architectural services, or create a cozy ambiance to your outside, precise install is key to attaining the preferred impression. This advisor will stroll you via the standard steps of installation LED panorama lighting fixtures, guaranteeing that your venture is a success from begin to complete.
Understanding LED Landscape Lighting
LED landscape lighting refers to energy-competent lighting platforms designed for backyard use. These lighting come in various kinds and purposes, which include pathway lighting fixtures, driveway lighting, backyard lighting fixtures, patio lighting, and extra. The reward of LED procedures comprise their lengthy lifespan, low strength intake, and versatility in design.
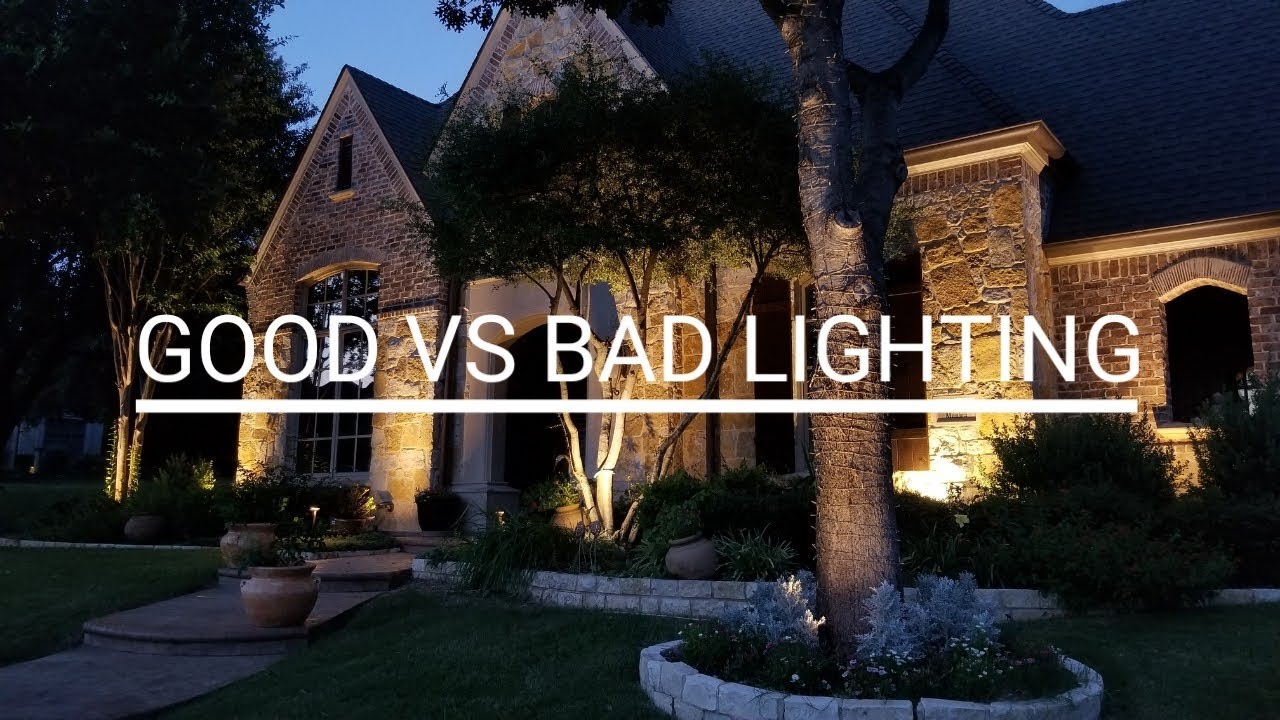
When fascinated with your backyard lighting fixtures, take into accounts how it's going to advance security, security, and aesthetics. For instance, good-lit pathways no longer merely forestall injuries but also upload a welcoming contact. Similarly, highlighting trees or architectural functions can become the environment of your yard at night.
Planning Your Lighting Design
Before you start out digging and wiring, spend time on planning. A thoughtful design will make install smoother and guarantee that you just reach the preferred seem to be.
Assess Your Space
Begin by inspecting your backyard or outdoor aspect. Identify key elements you wish to illuminate—these can be bushes, shrubs, entryways, or water characteristics. Consider how these features engage with traditional faded in the course of exceptional occasions of day.
Create a Lighting Plan
Draw a basic map of your panorama and mark where you propose to situation each one mild fixture. The intention is to create layers of mild for depth: use route lighting fixtures alongside walkways for safety while employing Astrolux Surrey Garden & Patio Lighting uplights on timber for dramatic impact. Be mindful of spacing; lighting fixtures will have to be located approximately 10 to 15 feet apart for even illumination.
Choose Your Fixtures
Select furniture situated on their motive and taste. Pathway lighting fixtures are normally shorter and designed to cast faded downward for safe practices. Uplights are put at flooring point to focus on vertical resources like trees or partitions. Remember that shade temperature issues too; hot white faded (around 2700K) creates a comfy surroundings when cool white (round 5000K) presents a extra present day experience.
Gathering Materials
Once you've got a plan in position, accumulate all invaluable elements until now opening your project. Here’s what you can most likely want:
Step-through-Step Installation Process
With your ingredients able and plan ordinary, stick to these steps to install your LED landscape lighting fixtures successfully.
Step 1: Lay Out the Fixtures
Before making any everlasting alterations, vicinity the light furniture in response to your plan with out securing them in place but. This allows for you residential landscape lighting Surrey to visualise how they may look while became on at evening.
Step 2: Mark Cable Routing
Once satisfied with the position of furniture, mark the direction wherein the low-voltage twine will run between every fixture and from the transformer area to come back to your drive Astrolux Surrey Lighting Solutions supply—this is able to be an outside outlet or one more correct connection level.
Step 3: Dig Trenches for Wiring
Depending on regional codes and private desire, you can elect to bury the twine or leave it above floor through stakes alongside pathways or flower beds. If deciding on burial (that's commonly advised), dig trenches approximately 6 inches deep alongside the marked direction.
Step four: Install Fixtures
Secure every one fixture in its special spot in keeping with enterprise classes—this will likely involve putting stakes into the ground or solving them completely if crucial. Ensure that any adjustable furnishings are orientated against their meant objective space earlier than tightening screws wholly.
Step five: Run Low-Voltage Wire
Lay down the low-voltage twine by using the trenches closer to each fixture at the same time outdoor lighting Surrey as making certain connections between wires are stable with the aid of water-resistant connectors wherein invaluable. Connect one quit of this wiring back to the transformer vicinity as steered with the aid of its consumer guide.
holiday lighting SurreyStep 6: Connect Transformer and Test Lights
Following all protection precautions mentioned in product manuals:
- Connect wires from fixtures into terminals on the transformer.
- Plug in or activate drive on the resource.
- Test each light for my part previously finalizing any burial work; alter angles as obligatory now rather then later whilst every thing is covered up!
Step 7: Bury Wires (if acceptable)
If you've gotten chosen to bury wires underground:
- Carefully hide them back up with soil with no detrimental insulation.
- Ensure no sharp items penetrate using after of completion—accept as true with adding mulch over spaces as a further shielding layer opposed to advantage ruin from landscaping movements later on.
Maintenance Tips for Longevity
Regular preservation ensures that your LED landscape lights stays efficient over the years:
When Professional Help May Be Necessary
While many property owners can even to find DIY deploy sincere enough there are instances whilst hiring gurus makes sense—extraordinarily if challenge complex tradition designs related to a couple of zones or smart integration structures requiring evolved electrical competencies.
Professional lights services and products might also help be certain that compliance with native guidelines involving electric work outside which range largely depending upon vicinity—and this might prevent the two complications down street in addition to achievable fines!
Conclusion
Installing LED panorama lighting fixtures can turn out to be not simply how a house seems to be after dark however additionally adorn its usability at some stage in nighttime hours—a authentic investment into the two beauty and functionality! By following these steps cautiously from planning by way of execution—along with maintaining those pretty new fixtures—you'd savour breathtaking outcomes 12 months-circular devoid of pointless tension along means ahead in the direction of brighter nights ahead!
Surrey Landscape Lighting Astrolux 17033 Fraser Hwy, Surrey, BC V4N 6V2 +1 778-786-0789